Closet Organization Hacks DIY: Part 1
Your closet shouldn’t feel like a black hole where clothes disappear forever. I learned this the hard way after spending 27 minutes searching for a single black sock (it was stuck in a shoe). Good news: with a few simple DIY solutions, you can transform chaos into order without spending a fortune.
In this first half, we’ll cover the foundational steps: purging ruthlessly, maximizing vertical space, and creating a system that actually works with your daily routine. These aren’t just pretty Pinterest ideas — they’re tactics I’ve tested in my own overstuffed closet and client projects. You’ll need basic tools, some creativity, and about 4–6 hours total (spread over a weekend).

The Life-Changing Magic of a Closet Purge
You can’t organize clutter. The first step is always editing your wardrobe down to what you actually wear and love. I recommend the “Four Pile Method”: Keep, Donate, Repair, Trash.
- Keep: Items worn in the last 6 months or special occasion pieces (wedding dress, interview suit).
- Donate: Gently used clothes that don’t fit or suit your style anymore.
- Repair: That blouse missing a button or shoes needing new heels.
- Trash: Stained, torn, or worn-out items (most people underestimate this pile).
Pro tip: Try the hanger trick — hang all clothes with hangers backward. After wearing, return them the right way. In 6 months, donate anything still backward.
What You’ll Need:
- Large trash bags
- Sticky notes for labeling piles
- A full-length mirror (try this simple leaning mirror)
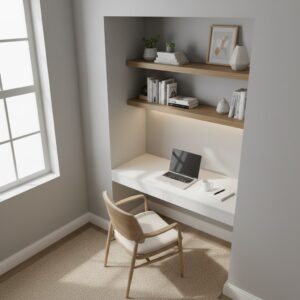
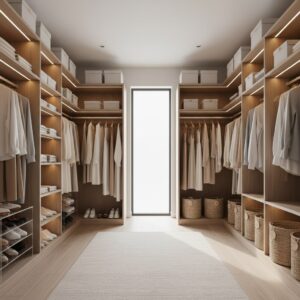
Vertical Space: Your Secret Weapon
Closets gain 30% more usable space when you think upward. Here’s how to exploit every inch:
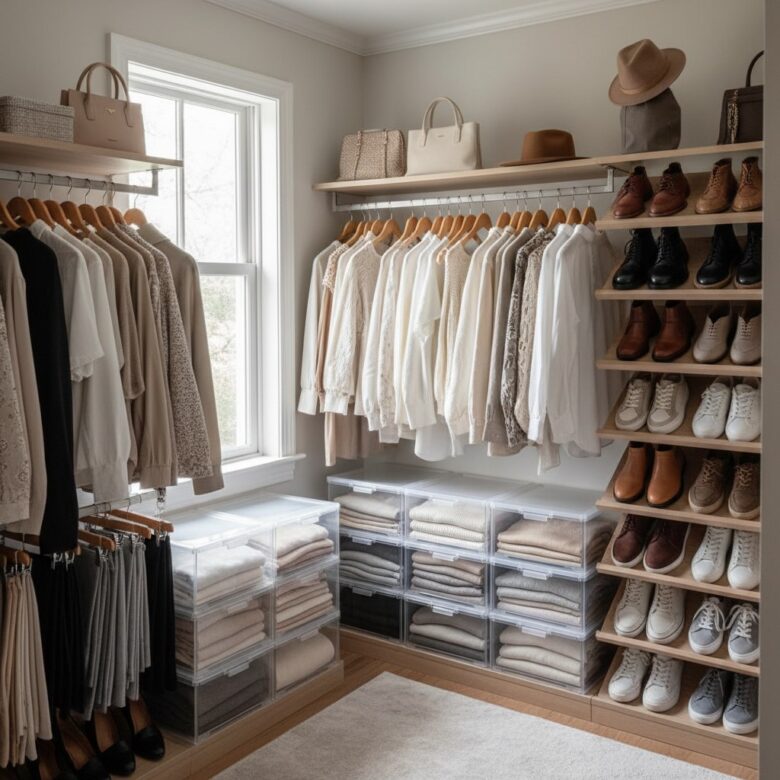
- Double your hanging rods: Install a second rod 18–24″ below the top one. Use PVC pipes or tension rods for a no-tools option. Short hanging items (shirts, blouses) go on top; pants or longer pieces below.
- Shelf dividers: Cut pool noodles lengthwise and slide them onto shelves to separate stacks of sweaters without toppling.
- Over-the-door storage: Hang a clear shoe organizer (like this one) for accessories, socks, or folded tees.
Personal hack: I mounted a pegboard on one wall for belts, scarves, and purses. Spray-painted gold, it looks intentional — not DIY.
The “One-Minute Rule” System
Maintenance is where most systems fail. The key? Make putting things away easier than dumping them.
- Hooks by the door: Install 3–5 heavy-duty hooks for frequently worn items (hoodies, work lanyards).
- Open bins for “in-between” clothes: A woven basket for jeans worn once but not dirty saves floor piles.
- Labeled bins for categories: “Workout,” “Seasonal,” or “Donate” in matching bins (I use these fabric storage cubes).
Real talk: If your system requires folding everything KonMari-style but you’re a “shove it in a drawer” person, it won’t last. Design for your habits.
*(Part 2 will cover lighting hacks, DIY dividers, and long-term maintenance strategies.)*
Lighting Hacks for a Functional Closet
Most builder-grade closets have a single dim bulb that casts shadows everywhere. After stubbing my toe one too many times while searching for shoes, I realized lighting makes or breaks a closet’s usability. Here’s how to upgrade yours for under $50:
- LED strip lights: These stick to shelves or the top of hanging rods. I used this plug-in set along my top shelf — no wiring needed. The motion-sensor version turns on automatically when you open the door.
- Battery-operated puck lights: Place these every 2-3 feet under shelves. They last 6+ months on one set of batteries.
- Mirror trick: Hang a mirror opposite your light source (even a small one) to bounce light deeper into the space.
The difference is night and day (literally). Suddenly, that navy sweater won’t get mistaken for black, and you can spot lint or stains before walking out the door.
DIY Dividers That Actually Work
Store-bought dividers often don’t fit unique closet dimensions. Here are three customizable solutions I’ve used in awkward spaces:
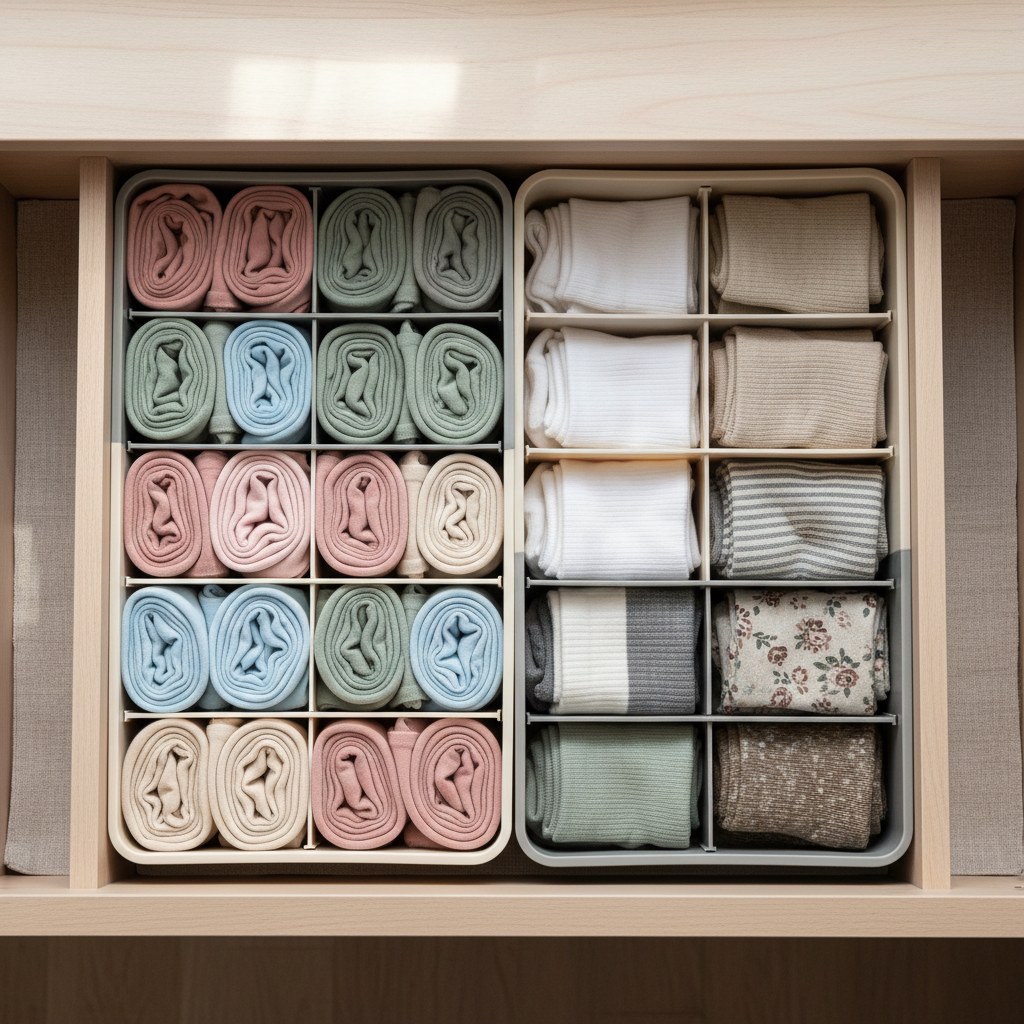
For drawers:
- Cut cardboard from cereal boxes into 4″ tall L-shapes. Hot glue them together to create adjustable compartments for socks or underwear.
- Repurpose old wooden spoons as “bookends” for folded t-shirts — just slide the handle under the stack.
For shelves:
- Use leftover vinyl flooring planks as sturdy shelf dividers. Cut to width with a utility knife (no saw needed).
- For a prettier option, glue fabric-covered foam board between stacks of sweaters.
For hanging clothes:
- Slide shower curtain rings onto your rod to separate clothing categories (work vs. casual). Bonus: They glide easily when you need to rearrange.
A client’s closet had a 13″ deep shelf that made folded piles collapse constantly. We cut a tension rod to fit front-to-back and draped a thin scarf over it — instant shallow “shelf” divider that cost $0.
Common Mistakes to Avoid
- Skipping the purge phase: Organizing around items you don’t wear just creates prettier clutter. That “someday” skirt taking up prime real estate? If it hasn’t left the closet in a year, it’s time to go.
- Overcomplicating the system: If maintaining your setup feels like a part-time job, it’s too fussy. I once color-coded my entire closet… and abandoned it within a week. Stick to broad categories (tops/bottoms) rather than subdividing by sleeve length.
- Ignoring your natural habits: If you toss clothes on a chair nightly, add a designated hook or basket there instead of fighting the impulse.
- Forgetting about airflow: Plastic bins can trap moisture. For seasonal storage, use breathable fabric bins or leave lids slightly ajar.
Keeping It Organized Long-Term
Set a phone reminder for a 10-minute “closet reset” every Sunday — rehang stray items, straighten stacks, and toss any new unwearables into the donate bin. I keep a small basket labeled “Mending” visible so I remember to fix that loose hem instead of shoving it to the back.
Small efforts compound. The first time you open your closet and immediately find what you need, you’ll realize those few hours of DIY were worth it.