DIY Home Office Ideas on a Budget
We’ve all been there — staring at a blank corner of the living room or an unused closet, wondering how to turn it into a functional workspace without spending a fortune. The good news? With a little creativity and some elbow grease, you can build a home office that looks polished and keeps you productive, even on a tight budget.
In this guide, we’ll walk through practical, wallet-friendly ways to set up a workspace that doesn’t sacrifice style or function. From repurposing furniture you already own to clever storage hacks that maximize small spaces, these ideas prove you don’t need a big investment to create a home office that works for you.
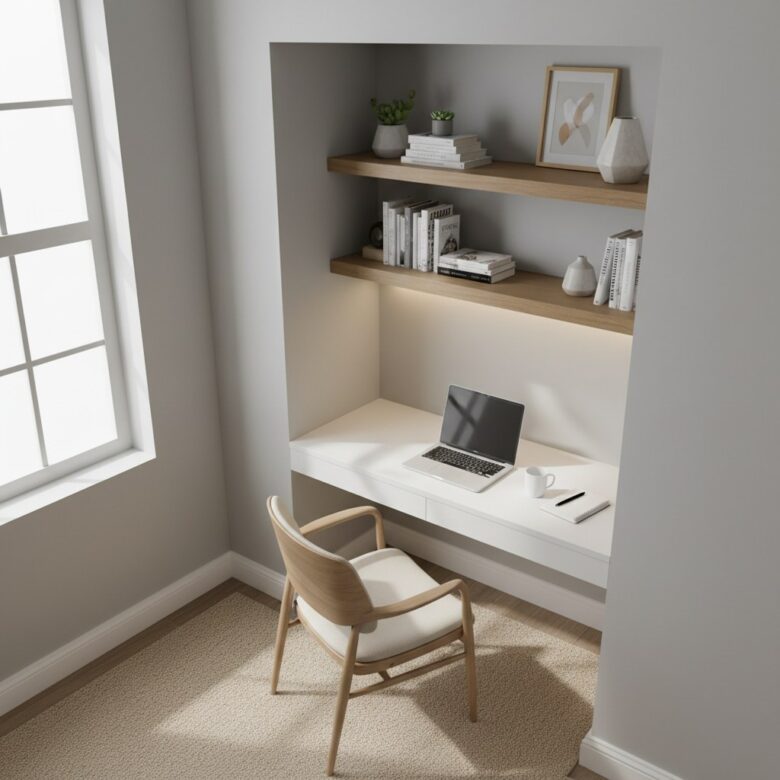
Repurpose a Closet Into a Mini Office
If you’re short on square footage, an unused closet is prime real estate for a compact home office. I converted my tiny coat closet into a workspace last year, and it’s been a game-saver for staying organized. The best part? You likely already have most of what you need.
Start by clearing out the closet completely. Remove any hanging rods or shelves that aren’t necessary. A fresh coat of paint (try a light, airy color like soft gray or pale blue) makes the space feel intentional. For the desk surface, a simple IKEA LINNMON tabletop ($25) cut to size works perfectly.
- Measure the depth of your closet — most standard closets are 24″ deep, which fits a shallow desk.
- Install floating shelves above the desk for storage. A basic 36″ shelf holds books, supplies, or decor.
- Add a pegboard on one side for hanging tools, calendars, or headphones. A small metal pegboard panel keeps things tidy.
- Use a tension rod under the desk to hang file folders or a small trash bin.
The key is keeping the space clutter-free. A folding chair tucks away when not in use, and a battery-powered LED light strip under the shelf provides ample task lighting.
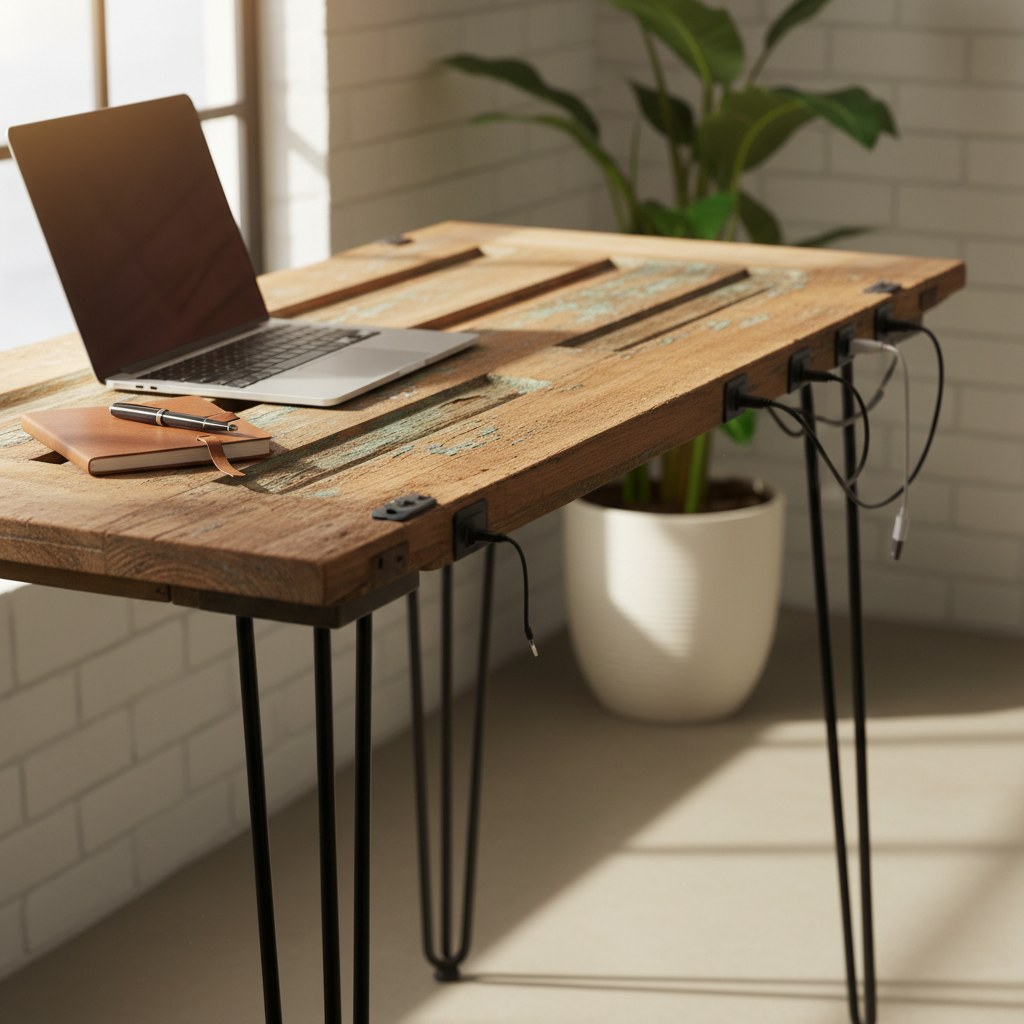
Build a Desk From Salvaged Materials
Scrap wood, old doors, or even sturdy filing cabinets can become the foundation for a custom desk. My first DIY desk was made from a hollow-core door ($10 at a salvage yard) and two sawhorses — it lasted five years and cost less than $30 total.
What You’ll Need:
- A flat surface (door, plywood, or butcher block)
- Supports (sawhorses, filing cabinets, or hairpin legs)
- Sandpaper (120-grit and 220-grit)
- Paint or stain (optional)
- Sand your surface thoroughly. Hollow-core doors often have a veneer that needs smoothing.
- Attach the legs or supports. If using sawhorses, simply place the door on top. For a more permanent setup, screw hairpin legs into the corners.
- Finish the surface. A coat of polyurethane protects wood from scratches. For a pop of color, try chalk paint.
A reclaimed wood desk adds instant character. Check local Facebook Marketplace listings for free or cheap materials — old dressers can be cut down to desk height, and industrial pipe fittings make sturdy legs.
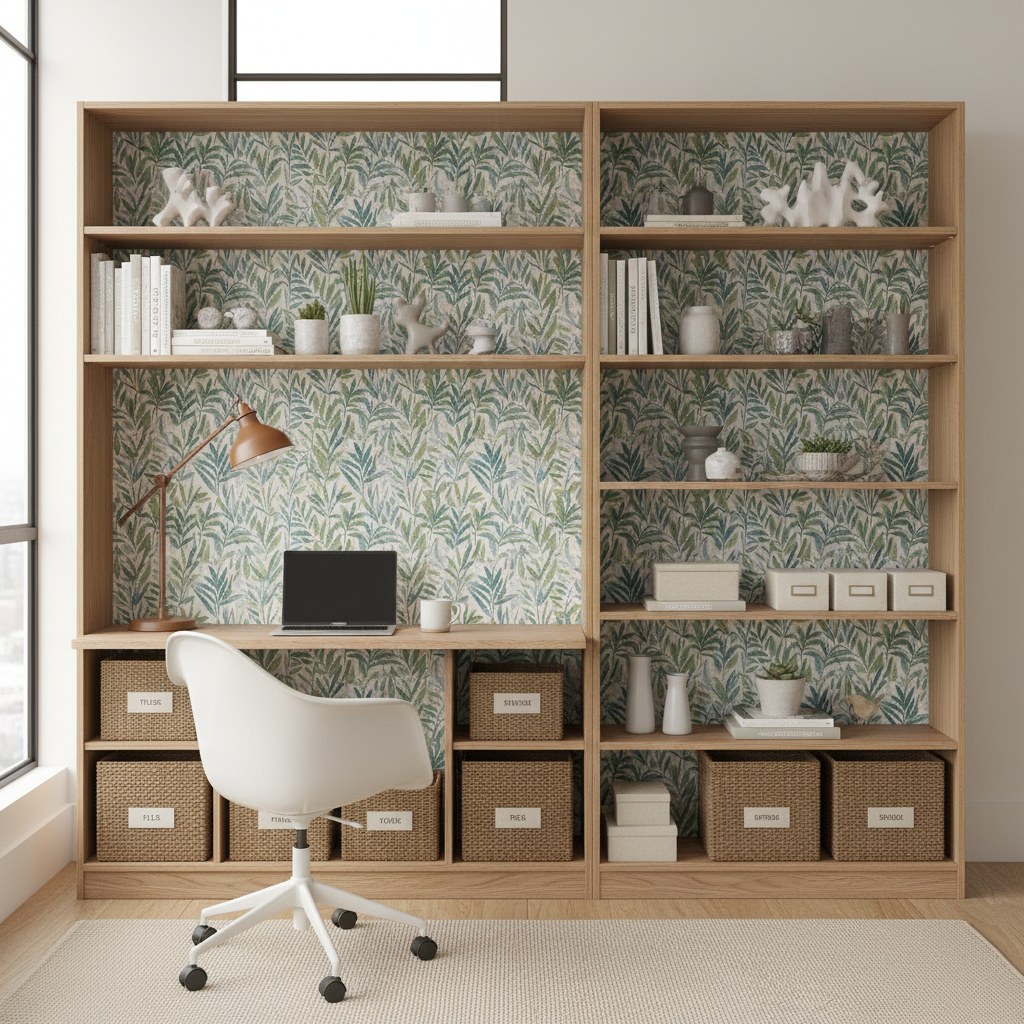
Turn a Bookshelf Into a Workspace Divider
Open-concept living spaces can make focusing tough. A tall bookshelf positioned perpendicular to a wall creates visual separation without construction. I use a Billy bookcase from IKEA ($60) as a room divider, with the back facing my “office” side covered in peel-and-stick wallpaper for a polished look.
- Place the shelf about 3-4 feet from the wall to create a nook.
- Use baskets or bins on lower shelves to hide office supplies.
- Add a small desk in front (a 36″ folding table works).
For extra functionality, mount a power strip to the side of the shelf to keep cords off the floor. A clip-on desk lamp provides focused light without taking up workspace.
*(Part 2 will cover more budget-friendly DIY ideas, including lighting hacks, cable management solutions, and common mistakes to avoid.)*
Create a Budget-Friendly Lighting Setup
Good lighting is essential for a productive workspace, but it doesn’t have to break the bank. I’ve found that layering light sources creates a balanced, functional environment without the need for expensive fixtures. Start with natural light if you can — position your desk near a window to make the most of daylight.
For task lighting, a simple clip-on lamp works wonders. I picked up a clip-on LED desk lamp for under $20, and it’s been a lifesaver for late-night work sessions. Clip it to the edge of your desk or a nearby shelf to keep your workspace clutter-free.
If your office area feels dim, consider adding a string of fairy lights or battery-powered LED strips. I tucked a set of LED strip lights under the lip of my desk, and they provide soft, ambient lighting that’s easy on the eyes. Another budget-friendly option is a floor lamp from a thrift store — just swap out the shade for something modern if needed.
The key is to avoid harsh overhead lighting, which can cause eye strain. Instead, combine task lighting with softer ambient light for a cozy yet functional vibe.
Organize Cables Like a Pro
Cable clutter is the enemy of a clean home office, but with a few simple solutions, you can keep cords under control. The first time I tried organizing cables, I made the mistake of using twist ties — they worked for a day but quickly became a tangled mess.
Here’s what I’ve learned works best:
- Use cable clips to secure cords along the edge of your desk or wall. These adhesive-backed clips keep cables neatly in place and prevent them from dangling.
- Invest in a cable management box. I found a small fabric cable box for $12 that hides my power strip and excess cords, making everything look tidy.
- Label your cords with masking tape or small tags. This makes it easy to unplug the right device when needed.
- Route cables behind furniture. Use zip ties or Velcro straps to bundle cords together and tuck them out of sight.
For a wireless look, consider mounting your power strip under your desk with adhesive strips. This keeps it accessible but hidden from view.
Add Personality With Thrifted Decor
A home office should inspire you, and that often comes down to the decor. The best part? You don’t need to spend a fortune on artwork or accessories. Thrift stores, garage sales, and even Facebook Marketplace are goldmines for unique finds.
I decorated my workspace with a mix of thrifted items and DIY projects. A vintage frame ($2 at a thrift store) became a chic bulletin board when I added corkboard and painted the frame matte black. An old mason jar holds pens and pencils, and a $5 rug adds warmth under my desk.
- Look for small shelves to display plants, books, or trinkets.
- Repurpose old items — an antique tray can corral desk essentials, and a mismatched teacup makes a cute pencil holder.
- DIY wall art is easy and affordable. Try framing pages from old books, creating a gallery wall with postcards, or painting a simple abstract design on canvas.
The goal is to create a space that feels personal and motivating. Even a few thoughtfully chosen pieces can make a big difference.
Common Mistakes to Avoid
- Overcrowding the space. It’s tempting to cram in as much storage as possible, but a cluttered desk can make it harder to focus. Stick to essentials and keep surfaces clear.
- Skimping on ergonomics. A cheap chair might save money upfront, but it can lead to back pain over time. Look for secondhand ergonomic chairs or add a cushion for support.
- Ignoring lighting. Poor lighting can cause eye strain and headaches. Invest in at least one good task light, even if it’s basic.
- Forgetting to measure. Before buying or building furniture, double-check dimensions to ensure it fits your space. A desk that’s too big can make a small office feel cramped.
- Neglecting cable management. Messy cords are distracting and can even be a tripping hazard. Spend a little time organizing them upfront to save frustration later.
Conclusion
Creating a home office on a budget is all about creativity and resourcefulness. With a little planning and some thrifty finds, you can build a workspace that’s both functional and inspiring. Remember, it’s not about spending a lot — it’s about making smart choices that work for you.
—