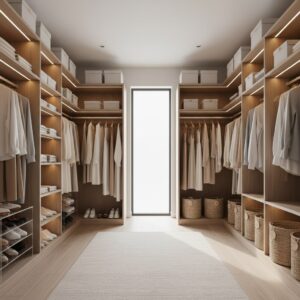
Closet Organization DIY Ideas: Transform Chaos Into Calm
Your closet shouldn’t be a black hole where clothes disappear forever. Mine used to be a jumbled mess until I discovered a few simple DIY solutions that made everything accessible — and actually kept it that way.
In this first half, we’ll cover the foundational steps to reorganize your closet with budget-friendly DIY projects. You’ll learn how to assess your space, build custom dividers, and double your hanging storage. These are all techniques I’ve tested in my own home, and they require minimal tools or experience.
Assess Your Closet’s Pain Points
Before buying a single storage bin, spend 15 minutes analyzing what’s *actually* not working. When I did this, I realized my “too-small closet” was really suffering from inefficient layouts — not lack of space.
Start by emptying everything (yes, everything) onto your bed. Then:
- Sort into categories: Group like items (all pants, dresses, shoes, etc.). This reveals duplicates or items you forgot you owned.
- Identify problem zones: Note where clutter accumulates. Is it folded stacks toppling? Shoes in a heap? Hangers jammed together?
- Measure twice: Record shelf heights, rod depths, and floor space. Standard closets have 24″ deep shelves, but older homes may vary.
*Pro tip*: Snap “before” photos. They’re motivating later!
What You’ll Need:
- Tape measure
- Painter’s tape (to mark layout ideas on walls)
- Collapsible fabric bins for temporary sorting
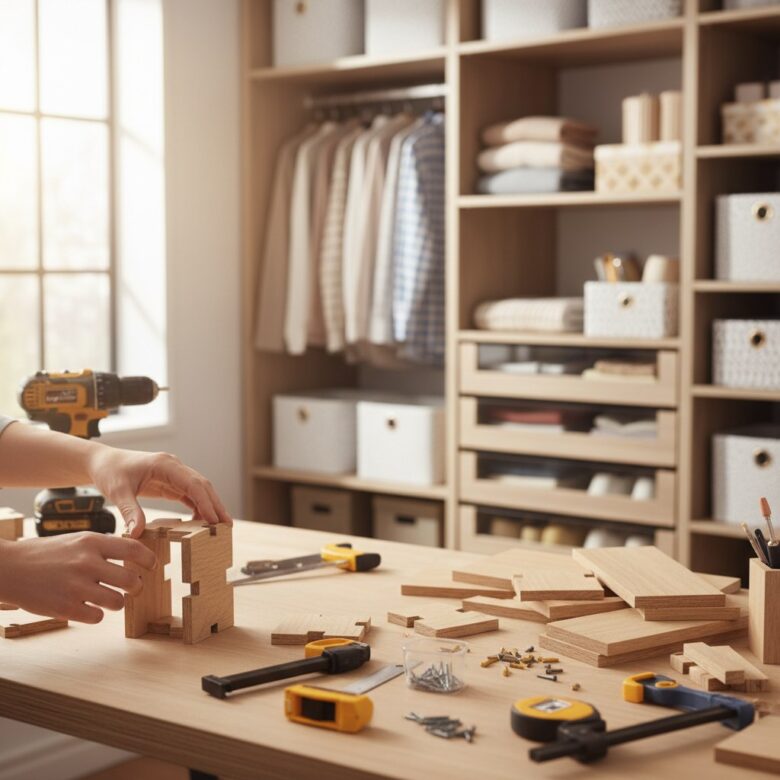
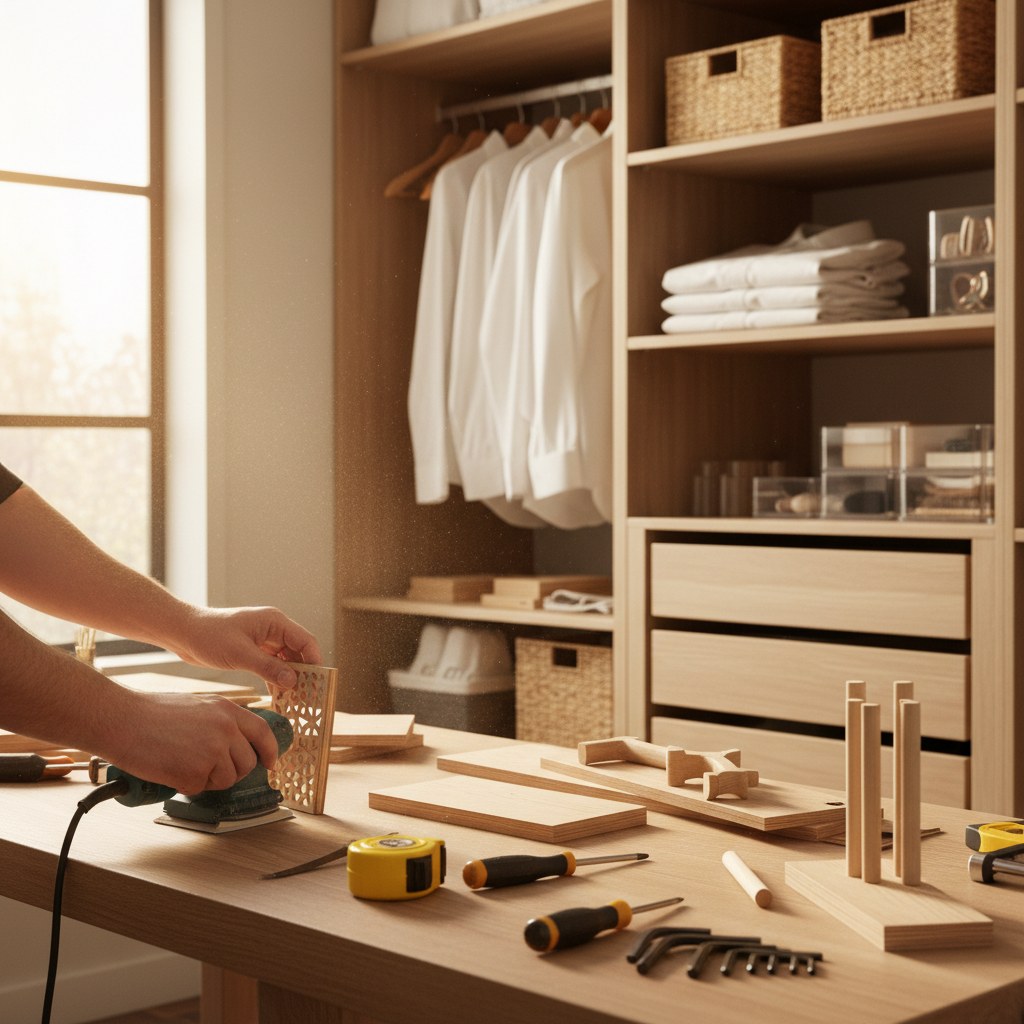
DIY Shelf Dividers for Neat Stacks
Folded sweaters or jeans that avalanche every time you grab something? Shelf dividers are a $5 fix. I made mine from foam board, but plywood works for heavier items.
Materials:
- 1/4″ foam board or thin plywood (12″ x 12″ sheets)
- Ruler and pencil
- Box cutter or handsaw
- Decorative contact paper (optional)
Steps:
- Measure the depth and height of your shelf. Most dividers need to be 10-12″ tall x shelf depth (often 12-14″).
- Cut panels to size. For foam board, score with a box cutter and snap. For plywood, use a handsaw.
- Space dividers 8-10″ apart to create sections. No adhesive needed — the tension of your folded clothes holds them upright.
*Personal note*: I wrapped mine in marble-pattern contact paper for a luxe look. They’ve lasted 3 years and counting!
Double Your Hanging Space With a Second Rod
If floor space is tight but you have 18″+ between your existing rod and ceiling, add a second tier. I did this in my daughter’s closet to separate school uniforms from play clothes.
What You’ll Need:
- Adjustable tension rod (like this one)
- S-hooks or cascading hooks for layered hanging
Installation:
- Measure the width between walls at your desired height (typically 12-18″ above the main rod).
- Twist the tension rod to extend 1″ wider than the space, then press into place. Test by hanging a few lightweight items first.
- For heavy items (coats, denim), use wall-mounted brackets instead. Predrill holes to avoid drywall cracks.
*Bonus*: Hang a fabric shoe organizer on the lower rod’s empty backside for scarves or belts.
*(Part 2 will cover DIY shoe storage, lighting hacks, and maintaining your system.)*
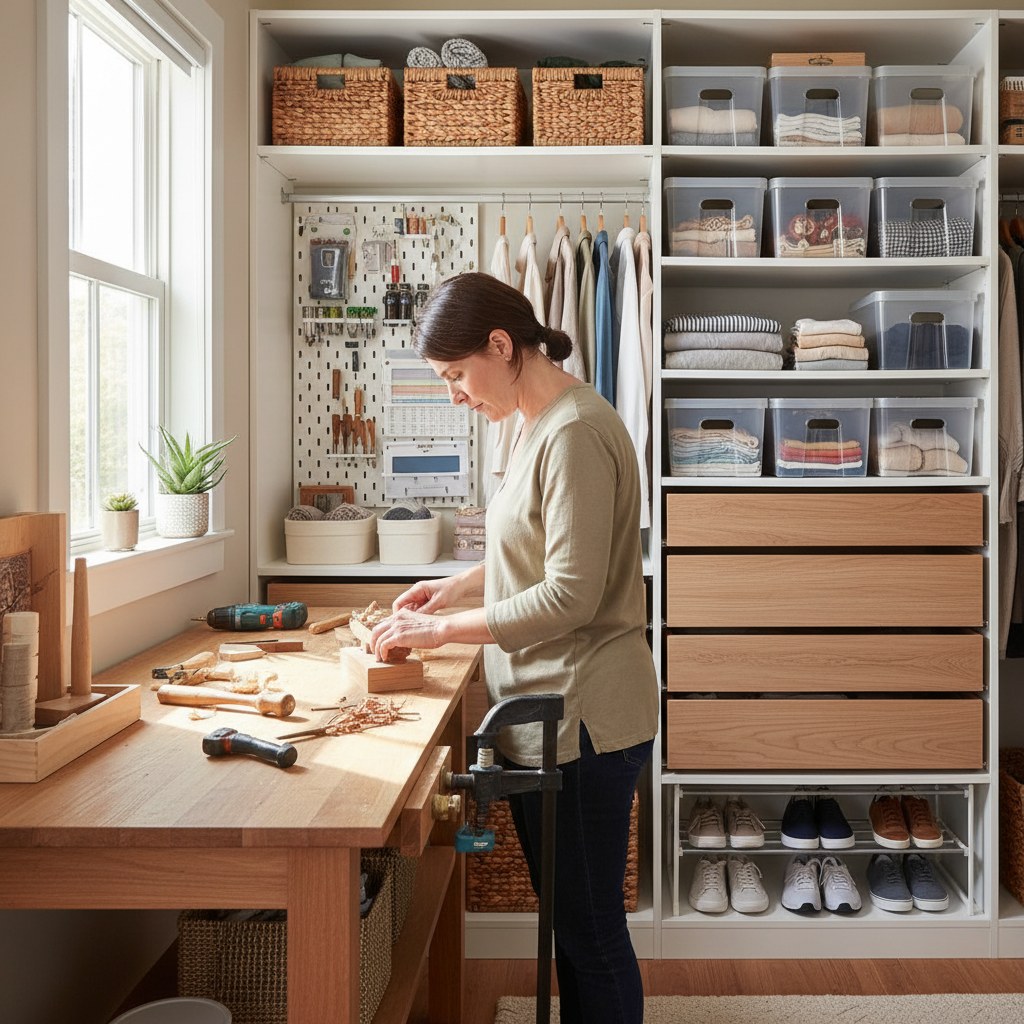
DIY Shoe Storage That Actually Works
Shoes are one of the trickiest items to organize in a closet, especially if you have a mix of flats, boots, and sneakers. I’ve tried everything from over-the-door organizers to stackable bins, but the best solution I’ve found is a custom DIY shoe rack. It’s affordable, adaptable, and keeps every pair visible and accessible.
What You’ll Need:
- 1″ x 12″ pine board (cut to your closet’s width)
- Adjustable shelf brackets
- Wood screws
- Sandpaper
- Paint or stain (optional)
Steps:
- Measure the width of your closet floor or wall space. Cut the pine board to fit. Sand any rough edges.
- Decide how many tiers you need. For most closets, 3-4 shelves spaced 8-10″ apart work well.
- Install the shelf brackets on the wall, ensuring they’re level and securely anchored. Place the pine boards on top.
- Arrange shoes by type or frequency of use. I keep everyday shoes on the bottom shelf and dressier pairs higher up.
*Personal tip*: If you’re short on wall space, use a freestanding shoe rack like this one. It’s slim, easy to assemble, and holds up to 12 pairs.
Add Task Lighting to See Everything Clearly
Closets often feel dark and claustrophobic, but a little lighting can make a huge difference. I installed LED strip lights in my closet, and it’s been a game-changer. No more guessing if that shirt is black or navy!
What You’ll Need:
- LED strip lights with adhesive backing
- Power source (battery-operated or plug-in)
- Optional: Dimmer switch for adjustable brightness
Installation:
- Clean the surface where you’ll attach the lights (usually the underside of a shelf). Let it dry completely.
- Measure and cut the LED strip to fit. Most strips are cuttable every few inches.
- Peel off the adhesive backing and press the strip into place. Secure any loose ends with clear tape.
- Connect to the power source and test. I prefer plug-in lights for consistent brightness, but battery-operated ones work if outlets are scarce.
*Bonus idea*: Use motion-activated lights for convenience. They turn on automatically when you open the closet door.
Keep Your System Maintained
The hardest part of closet organization isn’t setting it up — it’s keeping it that way. I’ve learned a few tricks to maintain order without spending hours tidying.
- Do a quick daily reset: Spend 2-3 minutes each evening putting away anything that’s out of place. It’s easier to keep up with small tasks than deal with a massive mess later.
- Rotate seasonal items: Store off-season clothes in labeled bins or a separate closet. This frees up space and reduces clutter.
- Edit regularly: Every 3 months, go through your closet and remove items you no longer wear. Donate or sell them to keep your space functional.
*Personal observation*: I keep a donation bag in my closet year-round. Whenever I try something on and realize it doesn’t fit or suit me, it goes straight into the bag.
Common Mistakes to Avoid
- Not measuring before buying supplies: I’ve bought organizers that didn’t fit my closet, wasting time and money. Always double-check dimensions.
- Overloading shelves and rods: Too much weight can cause shelves to sag or rods to collapse. Stick to recommended weight limits.
- Ignoring vertical space: The area above your hanging rod is prime real estate. Use it for bins, hooks, or additional shelves.
- Skipping the purge: Trying to organize without decluttering first is like rearranging deck chairs on the Titanic. Be ruthless with what you keep.
- Forgetting about accessibility: If you can’t easily reach or see items, you’re less likely to put them back where they belong.
Final Thoughts
Organizing your closet doesn’t have to be overwhelming or expensive. With a little creativity and these DIY ideas, you can create a system that works for your space and lifestyle. Start small, stay consistent, and enjoy the peace of mind that comes with a clutter-free closet.
—