
We’ve all been there—standing in front of a cluttered pantry, unable to find the spaghetti sauce you *know* you bought last week. A disorganized pantry isn’t just frustrating; it wastes time, money, and space. But with a few simple DIY organization ideas, you can transform your pantry into a functional, easy-to-navigate haven.
In this article, you’ll learn practical, budget-friendly ways to organize your pantry, from decluttering strategies to clever storage solutions. Whether you’re working with a walk-in pantry or a small cabinet, these tips will help you maximize every inch of space. Plus, I’ll share some of my favorite products and hacks that have made a huge difference in my own pantry.
Start with a Deep Declutter
Before you can organize your pantry, you need to clear it out. This might sound overwhelming, but trust me, it’s worth it. The first time I tackled my pantry, I found expired spices, duplicate items, and half-empty bags of snacks I’d forgotten about. Here’s how to do it right:
- Empty Everything: Take every single item out of your pantry. Yes, everything. This gives you a blank slate to work with.
- Sort by Category: Group similar items together—canned goods, baking supplies, snacks, spices, etc. This helps you see what you have and identify duplicates.
- Check Expiration Dates: Toss anything that’s expired or stale. If you haven’t used it in the past year, it’s probably safe to let it go.
- Donate or Repurpose: Unopened, non-perishable items you don’t need can be donated to a food bank. Items like extra mason jars or containers can be repurposed for storage.
Once you’ve decluttered, you’ll have a much clearer idea of what you need to store and how much space you’re working with. This step alone can make your pantry feel instantly more organized.
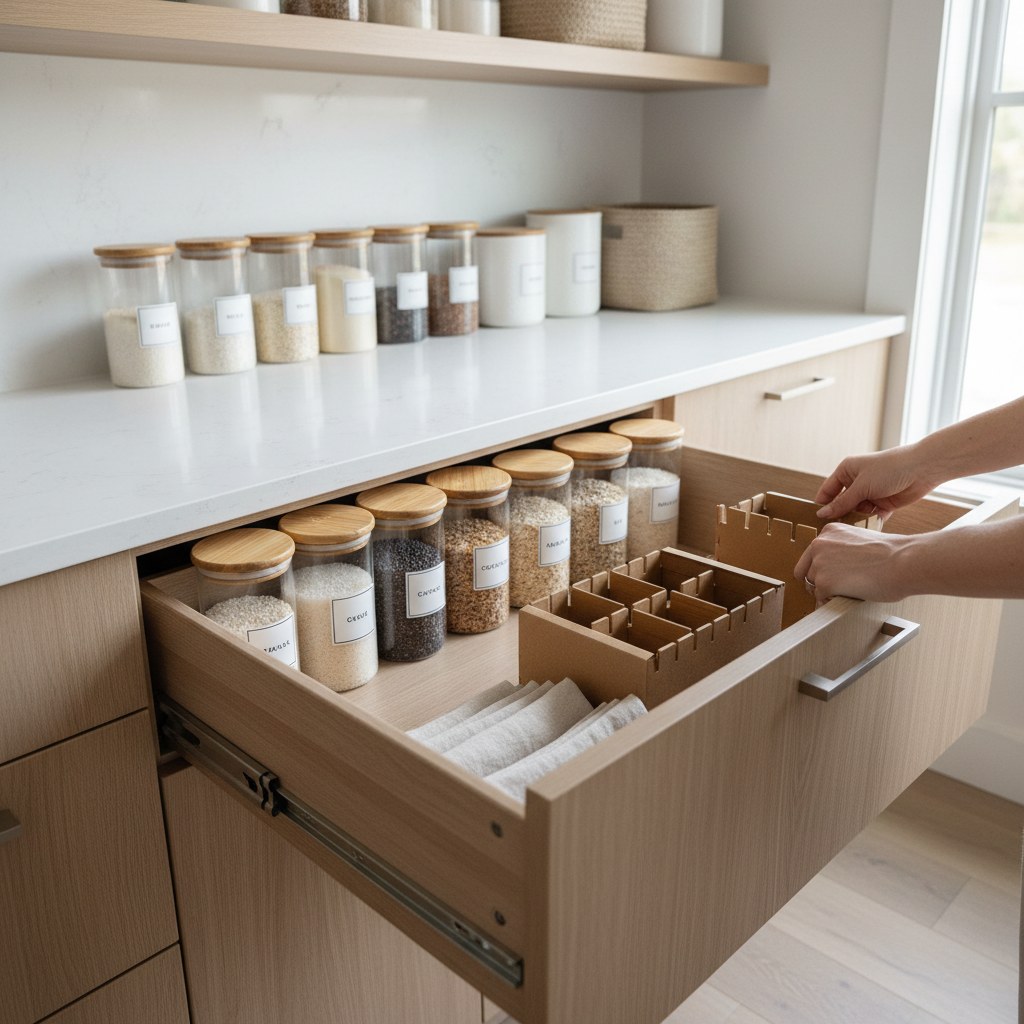
Use Clear Storage Containers
One of the best investments I’ve made for my pantry is clear storage containers. They not only keep food fresh but also make it easy to see what you have at a glance. Here’s how to use them effectively:
- Choose the Right Size: Measure your shelves before buying containers. You’ll want containers that fit comfortably without wasting space. I love the OXO POP Containers because they come in a variety of sizes and are stackable.
- Label Everything: Even with clear containers, labels are a must. Use a label maker or simple sticky notes to identify the contents. This prevents confusion and makes restocking easier.
- Group Similar Items: Store like items together—flours, sugars, and baking powders in one area, pastas and grains in another. This creates a logical flow in your pantry.
The upfront cost of containers can feel daunting, but they’re a long-term investment that saves you money by preventing food waste. Plus, they make your pantry look cohesive and tidy.
Install Adjustable Shelving
If your pantry shelves are fixed or too far apart, you’re likely wasting valuable vertical space. Adjustable shelving is a game-changer for maximizing storage. Here’s how to install it:
- Measure Your Space: Note the height, width, and depth of your pantry. This will help you choose the right shelving system.
- Choose a Shelving System: I recommend wire shelving or adjustable brackets with wooden planks. Both options are customizable and easy to install. Check out the ClosetMaid ShelfTrack system for a durable, versatile option.
- Install the Shelves: Follow the manufacturer’s instructions carefully. Make sure shelves are level and securely anchored. If you’re not confident in your DIY skills, consider hiring a professional.
- Organize by Frequency: Place frequently used items on middle shelves at eye level. Less-used items can go on higher or lower shelves.
Adjustable shelving allows you to customize your pantry to fit your specific needs. It’s especially helpful for storing tall items like cereal boxes or awkwardly shaped containers.
What You’ll Need
Before you start organizing your pantry, gather these supplies:
- Clear storage containers (various sizes)
- Labels and a label maker
- Adjustable shelving system
- Measuring tape
- Cleaning supplies (for wiping down shelves)
- Donation bins for unused items
With these tools on hand, you’ll be ready to tackle your pantry organization project head-on. Stay tuned for Part 2, where we’ll cover more tips and common mistakes to avoid!
Optimize Vertical Space with Door Storage
The back of your pantry door is prime real estate that most people overlook. When I first installed door storage, I gained an extra 20% of usable space—perfect for spices, snacks, or cleaning supplies. Here’s how to make the most of it:
- Choose the Right Rack: Measure your door’s width and depth before buying. The SimpleHouseware Over-the-Door Organizer is adjustable and sturdy enough for heavy cans.
- Sort by Weight: Place lighter items (spice jars, tea bags) at the top and heavier ones (oils, vinegar) toward the bottom to prevent sagging.
- Use Hooks for Tools: Hang measuring cups, aprons, or reusable grocery bags on small hooks. I repurposed adhesive shower hooks for this—they’re cheap and hold up well.
Pro tip: If your door has hinges that protrude, opt for a rack with a low-profile design. Test it by opening and closing the door fully to ensure nothing gets crushed.
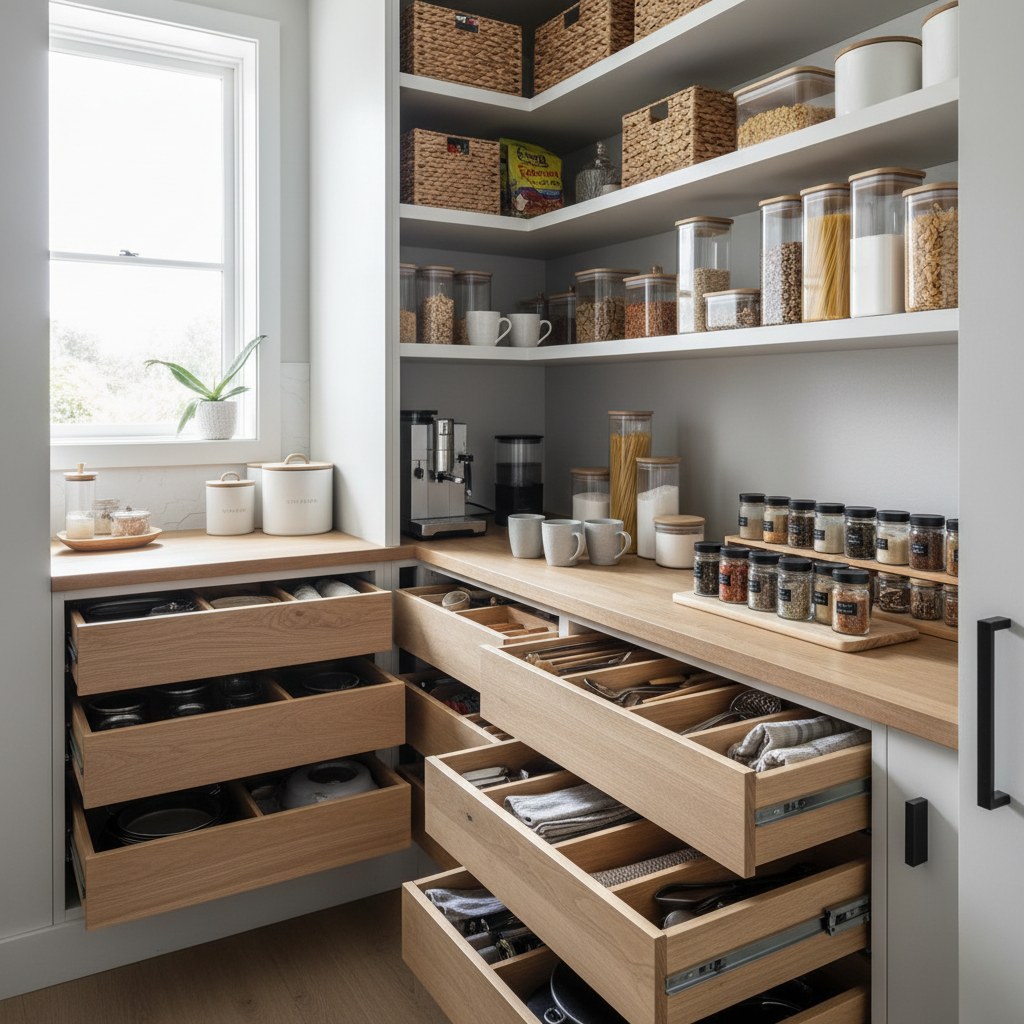
Create Zones for Efficiency
A “zone system” changed how I use my pantry. Instead of rummaging for ingredients, everything has a dedicated spot. Here’s how to set it up:
- Breakfast Zone: Store cereals, oatmeal, and coffee pods together. I use a lazy Susan for syrups and sweeteners—it’s a game-changer for small items.
- Baking Zone: Group flour, sugar, and baking soda in airtight containers. Keep measuring spoons and rolling pins nearby in a caddy.
- Snack Zone: Designate a lower shelf or bin for kids’ snacks. The mDesign Plastic Storage Bin keeps granola bars and fruit pouches contained.
Label each zone with a chalkboard sticker or washi tape. When I implemented this, my grocery shopping became faster because I could instantly see what was running low.
Common Mistakes to Avoid
- Overbuying Containers Before Measuring: I once bought a dozen beautiful jars only to realize they didn’t fit my shelves. Always measure your shelf height and depth first.
- Ignoring Accessibility: If you store quinoa behind the rice cooker you never use, you’ll forget it exists. Place everyday items at eye level.
- Skipping Labels: Even clear containers can be misleading—trust me, powdered sugar and flour look identical at 6 a.m.
- Forgetting to Maintain: Set a monthly “pantry check” to wipe shelves and toss expired items. A 10-minute tidy saves hours later.
- Overcrowding: Leave 1–2 inches between items so you can grab them easily. Stacking too high leads to avalanche disasters.
Final Touches for Long-Term Success
Add motion-sensor lights under shelves if your pantry is dark—they’re cheap and make a huge difference. Keep a step stool nearby for high shelves, and pat yourself on the back for tackling this project!
—
META_DESCRIPTION: DIY pantry organization ideas that save time and money. Learn zone systems, door storage hacks, and common mistakes to avoid for a clutter-free kitchen.
TAGS: pantry organization, kitchen storage, DIY home organization, decluttering, small space solutions
TITLE: Pantry Organization Ideas DIY: Clever Hacks for a Clutter-Free Kitchen
PIN_TITLE_1: “I Gained 20% More Space Using This Pantry Door Hack”
PIN_TITLE_2: “The Zone System That Cut My Grocery Time in Half”
IMAGE_PROMPT_1: “Overhead shot of a pantry door with a white wire rack organizer holding matching spice jars and small baskets, natural light from a nearby window casting soft shadows, warm wood door texture, minimalist kitchen background, bright and airy composition”
IMAGE_PROMPT_2: “Close-up of a labeled baking zone with glass canisters of flour and sugar, a wooden rolling pin leaning against them, marble countertop in background, afternoon sunlight highlighting dust particles, cozy rustic aesthetic”
IMAGE_PROMPT_3: “Side angle of a deep pantry shelf with staggered clear bins showing pasta and rice, one open container with a scoop inside, recessed LED lighting creating a glow, modern farmhouse style”