What’s Inside
- Transform Old Clear Glass Jars Into Hanging Pendant Lamps
- Roll Old Magazine Pages Into Waterproof Coasters
- Craft Cardboard Photo Frames From Amazon Boxes
- Hang Old Sarees As Fabric Wall Art
- Create Custom Wall Storage From Waste Wood Scraps
- Upgrade Cheap Furniture With Peel-And-Stick Velvet
- Make Faux Stained Glass Windows From Waste Plastic
- Build Affordable Wainscoting Panels From Waste Materials Ideas DIY Home Decor
- Fashion Reeded Film Privacy Screens For Doors
- Assemble Marble-Effect Trays From Cardboard
- DIY Embellished Cardboard Boxes For Shelf Dividers
- Repurpose Bottle Caps Into Mosaic Tabletops
- Hang Wine Corks In Shadow Boxes
- Turn Denim Scraps Into Woven Placemats
- Build Pallet Wood Floating Shelves
- Create Tin Can Planters With Drainage
- Fashion Rope Baskets From Cardboard Cores
- Build Magazine Holder Wall Pockets From Cereal Boxes
- Transform Plastic Bottles Into Vertical Herb Gardens
- Create Decorative Wall Letters From Cardboard
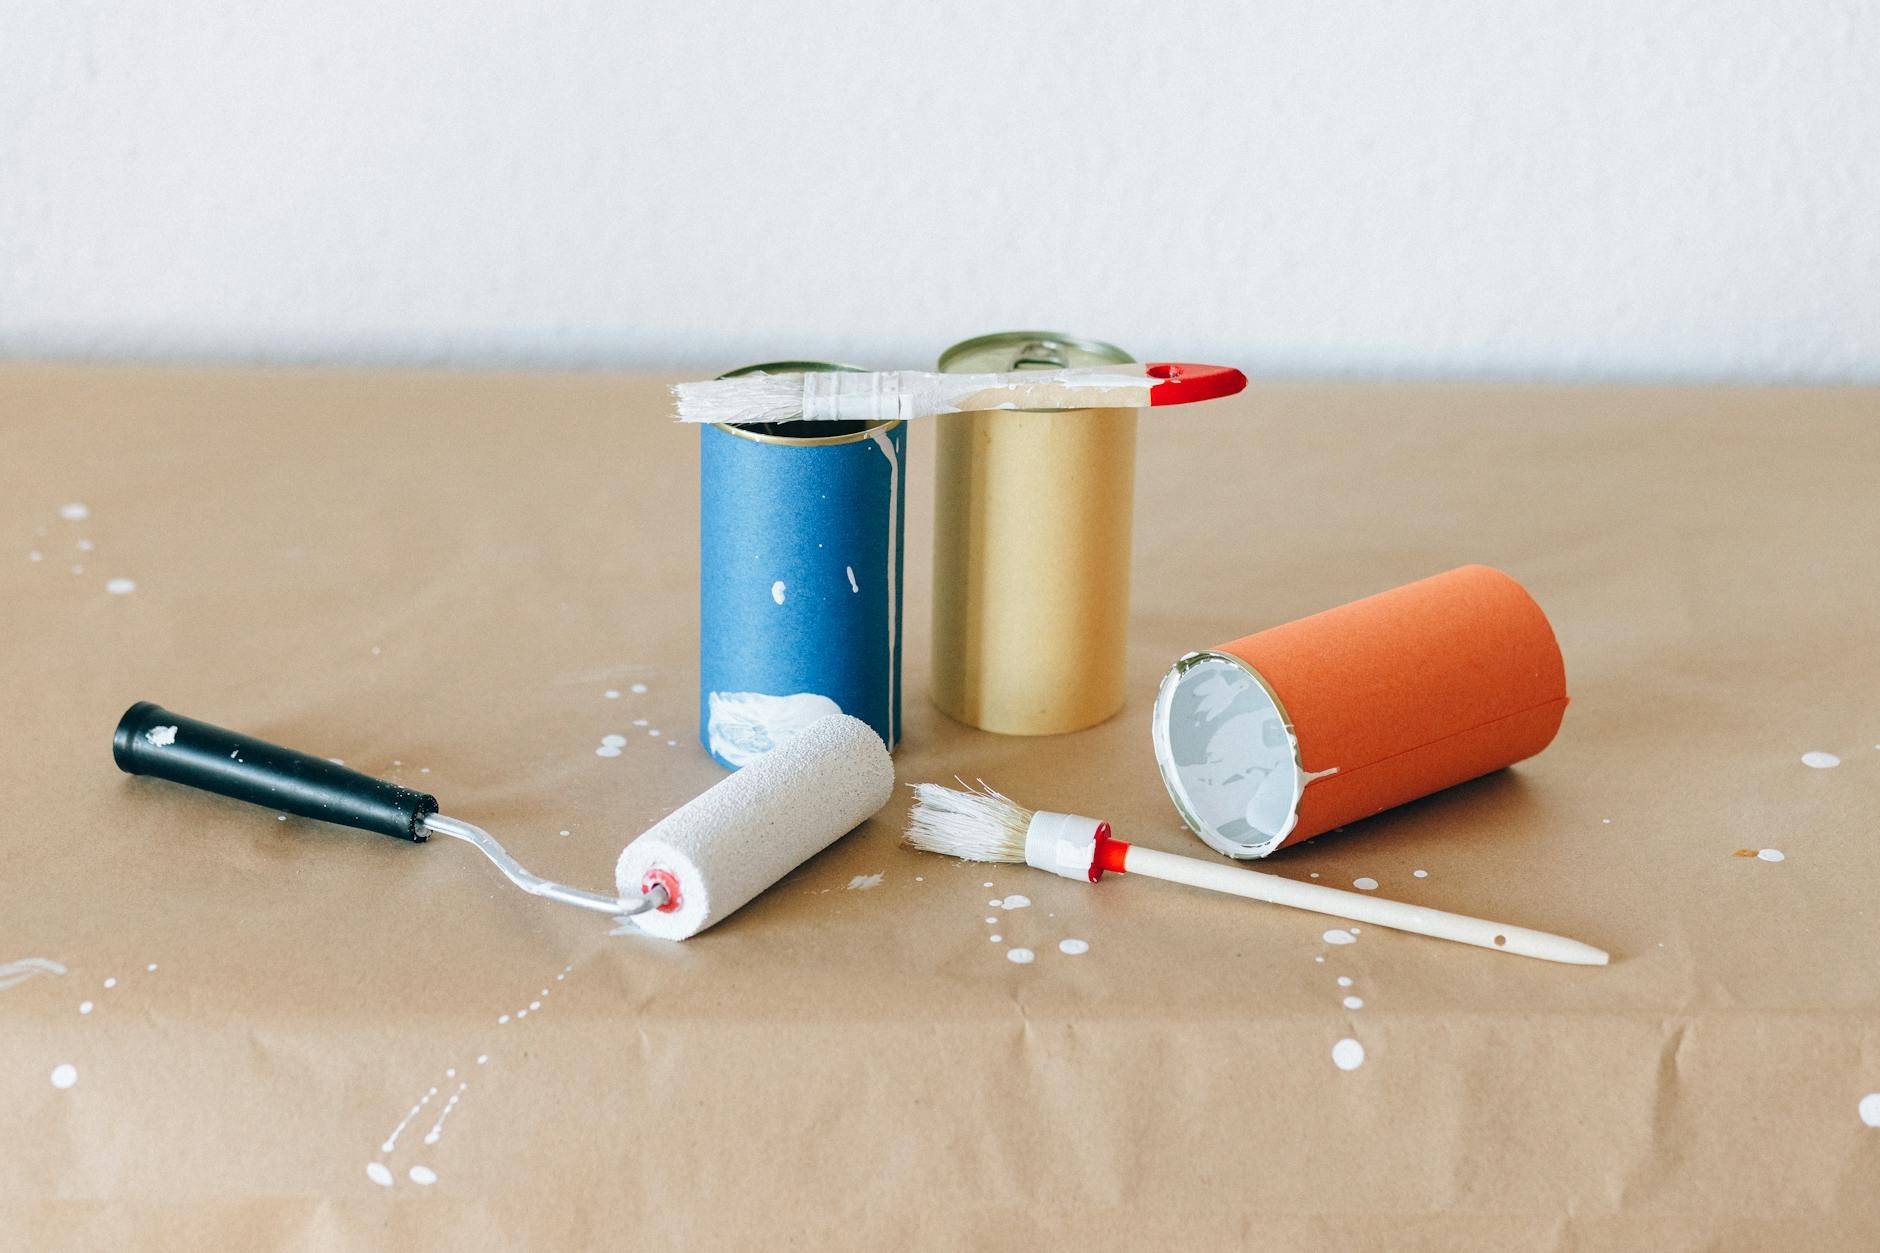
Last month I watched my neighbor drag three perfectly good cardboard boxes to the curb, and honestly it hurt my soul a little. Those boxes could have become stunning organizers, frames, or even furniture upgrades. If you’re tossing waste materials without considering their decorating potential, you’re literally throwing money away. I’ve spent the last five years transforming trash into treasures, and these waste materials ideas diy home decor projects have saved me thousands while making my home look like I hired a professional designer. Let me show you exactly how to do the same.
Transform Old Clear Glass Jars Into Hanging Pendant Lamps

I started collecting pasta sauce jars two years ago, and now I have the coolest bedroom lighting setup for about $25 total. You’ll need a basic pendant light fixture kit from Philips Hue (around $20-30), 12-18 inches of jute rope for hanging, and a 5W LED bulb. The process is simpler than you’d think. Drill a hole in the jar lid for wiring, thread the cord through, and add Rustoleum spray paint in metallic gold for that trendy 2026 ambient glow everyone’s obsessed with.
Here’s what most people get wrong: they hang jars that are too heavy and end up damaging their ceiling. DIY experts consistently warn about this. Stick with standard mason jar weight or lighter. I personally swear by the 16-ounce size because it gives enough presence without the structural concerns. The gold finish catches light beautifully in the evening, and guests always ask where I bought them. When I say “from my recycling bin,” their jaws drop every single time.
Roll Old Magazine Pages Into Waterproof Coasters

My coffee table used to be covered in water rings until I made these coasters from my National Geographic collection. Cut 4×4-inch squares from the glossy pages (the wildlife photos work best), then layer 20-30 sheets with Mod Podge from DAP brand ($8 per bottle). Seal everything with Krylon clear sealant spray and glue 1/8-inch cork backing underneath. The whole set costs maybe $10 compared to $15 for store-bought versions that honestly don’t look half as interesting.
The biggest mistake I see people make? Skipping the sealant step. I learned this the hard way when my first batch started peeling after two weeks. The sealant makes them actually waterproof, not just water-resistant. I’ve had my current set for eight months with zero degradation. Pro tip: choose pages with dominant blues and greens because they hide minor condensation stains better than lighter colors. These coasters spark more conversations than any expensive decor piece I own.
Craft Cardboard Photo Frames From Amazon Boxes

Those Amazon boxes piling up in your garage? They’re picture frames waiting to happen. I cut 8.5×11-inch panels from sturdy boxes, cover them with scrapbook paper from American Crafts brand, and add 50-100 beads or dried lavender sprigs as embellishments. Add a 4×6-inch clear acrylic sheet from the dollar store ($2), and you’ve got custom frames that look boutique-quality.
Interior designers recommend sizing these for 5×7 family photos to avoid warping, which happens frequently in humid areas if you don’t seal the cardboard properly. I live in Florida, so I learned to spray the cardboard with clear acrylic sealer before decorating. This simple step prevents that sad drooping effect after a few months. Honestly, these frames have completely changed how I display memories around my house. I make them in batches during Netflix binges, and they cost practically nothing while looking intentional and curated. The lavender adds this subtle scent that makes the whole room feel expensive.

Durmmur 2 Pack Hat Racks for Baseball Caps
Honestly, Durmmur 2 Pack Hat Racks for Baseball Caps surprised me — sturdier than it looks in the photos, and over 109 buyers gave it 4.5 stars.
Hang Old Sarees As Fabric Wall Art

My friend gave me her grandmother’s old sarees, and instead of letting them sit in a closet, I turned them into the focal point of my living room. Hang them on a 36-inch bamboo pole from IKEA (under $10), secure with 2 yards of cotton rope and brass picture hooks. The 2026 biophilic style trend celebrates cultural textiles exactly like this, and the colors bring so much life to neutral walls.
Here’s the warning nobody tells you: direct sunlight will fade these gorgeous fabrics faster than you’d believe. I made this mistake with my first installation, hanging a vibrant red saree opposite my west-facing window. Within three months, it looked washed out. Now I only hang them on walls that get indirect light, and they’ve stayed brilliant for over a year. The texture and pattern create this layered, collected look that interior designers charge thousands to achieve. I personally think this beats any canvas print you could buy, and it honors the craftsmanship of the original fabric artists.
Create Custom Wall Storage From Waste Wood Scraps

I had a completely dysfunctional corner in my entryway until I built these shelves from construction site scraps. Use a 1/2-inch Forstner bit from Harbor Freight ($5) to drill shelf supports into plywood offcuts measuring 24×8 inches, then glue everything with Titebond III wood glue ($6). The total cost runs $0-15 depending on whether you need to buy the glue, and it solves that awkward dead space problem so many homes have.
YouTube DIY pros consistently note this as a top 2026 trend for affordable storage solutions. The common mistake? Not measuring twice before drilling. I’ve done this wrong enough times to know that uneven shelves look amateur no matter how you style them. Now I use a level obsessively, and my shelves look professionally installed. These hold about 15 pounds each, perfect for keys, small plants, or decorative boxes. The raw wood aesthetic actually works better than trying to make everything matchy-matchy. I get compliments on these constantly, and people assume I paid a carpenter.
Upgrade Cheap Furniture With Peel-And-Stick Velvet

I bought a sad thrift store nightstand for $8, and honestly it looked like $8. Then I discovered Velvet Removable Wallpaper from Tempaper ($40 per roll), cut it into 12×12-inch patches, and applied it to the drawer fronts. Now it looks like something from a luxury hotel. The velvet trend is huge in 2026, and this hack lets you participate without buying all new furniture.
The critical step everyone skips? Sanding the surface first. Home flippers consistently mention this in their advice, and they’re right. When I didn’t sand my first attempt, bubbles formed within days and the adhesive failed. After learning to prep properly, my applications stay smooth and secure for months. The texture catches light differently throughout the day, creating this dynamic, expensive look. I’ve done this to three pieces now, and each one feels like a completely different furniture item. The removable aspect means you can change your mind later without damaging anything underneath.

Lifewit 6 Pack Clothes Storage Bins with Lids
Lifewit 6 Pack Clothes Storage Bins with Lids has been one of the most consistently praised picks in this category. 1,072 reviewers averaged 4.5/5.
Make Faux Stained Glass Windows From Waste Plastic

My bathroom mirror faced the street, and I needed privacy without blocking all the light. Stained Glass Decal film from RoomMates ($15 per pack, 12×12 inches) solved this perfectly. Cut it to fit your 24×36-inch panes with a mat cutter ($20 on Amazon), and suddenly you have that vintage church window vibe everyone loves. The surprising part? It blocks 90% of UV rays without professional installation, which I didn’t expect from a simple film.
Most people mess this up by not squeegeeing properly during application. Bubbles will absolutely form if you rush this step, and they’re nearly impossible to remove later. I learned to work slowly, spraying the window with soapy water first, then smoothing from the center outward. The light diffusion is honestly magical. It creates these colored shadows throughout the day that make my bathroom feel like a spa. For $15 and ten minutes of careful work, this beats frosted spray paint or expensive window treatments by miles.
Build Affordable Wainscoting Panels From Waste Materials Ideas DIY Home Decor

Professional wainscoting installation costs about $500 per room, which I absolutely don’t have in my budget. Instead, I used 1/4-inch paintable trim like EverTrue MDF molding ($25 for 8-foot lengths) cut to fit 4×8-foot plywood sheets from pallet wood. The 2026 trend for textured walls is everywhere, and I achieved it for roughly $50 per room. The dimensional interest this adds makes my dining room look twice as expensive.
The rookie error that ruins clean lines? Miter saw misalignment. I didn’t realize my angles were slightly off until I had three panels installed, and they looked progressively worse. Now I test my saw alignment before every project and check each corner with a speed square. The difference is dramatic. When done correctly, these panels read as original architectural details, not additions. I painted mine in the same color as my walls but in a satin finish instead of matte, which creates subtle contrast. Honestly, this project intimidated me at first, but it’s become my favorite home improvement skill.
Fashion Reeded Film Privacy Screens For Doors

My mirrored closet doors were functional but ugly, reflecting every messy corner of my bedroom. Reeded Glass Film from WallPops ($20 per 17.5×78-inch roll) completely transformed them into something you’d see in a high-end spa. Trim to exact measurements with a utility knife, and you get that trendy 2026 small-space look everyone’s copying from design magazines.
Here’s the lesser-known benefit: this film diffuses light about 70% better than frosted sprays, creating softer, more flattering illumination. The catch? Overlaps cause visible seams that look terrible. I measured obsessively to avoid needing multiple pieces, but when I did need seams, I hid them in the door frames. The reeded texture adds this vintage-modern vibe that makes my builder-grade closets look custom. Installation took maybe 30 minutes, and I’ve had zero peeling or bubbling issues after six months. This is one of those changes that makes you wonder why you lived with the old version for so long.
ukeetap Extra Large Expandable Silverware Organizer
A dependable everyday pick — ukeetap Extra Large Expandable Silverware Organizer pulls in 46 ratings at 4.5 stars. Not flashy, just solid.
Assemble Marble-Effect Trays From Cardboard

I needed vanity organization but refused to spend $30 on acrylic trays. Instead, I lined cardboard boxes with Marble Contact Paper from Duck Brand ($10 per 18×24-inch roll) and reinforced them with 1-inch wood frame scraps. These hold 5-10 pounds easily, perfect for corralling skincare products and makeup. Total cost? About $5 per tray.
Experts recommend hot ironing the contact paper before applying it to prevent peeling under bathroom humidity. I skipped this initially because it seemed unnecessary, and sure enough, the corners lifted within weeks. After learning to prep properly, my trays have stayed perfect for months despite daily exposure to moisture. The marble pattern looks genuinely expensive, especially in good lighting. I made three sizes to nest together, creating this organized, cohesive look on my counter. People always ask where I bought them, and I love revealing they’re essentially fancy cardboard. This project proves you don’t need expensive materials to achieve a luxury aesthetic.
DIY Embellished Cardboard Boxes For Shelf Dividers

Pantry organization used to stress me out until I started making custom dividers from 12×12-inch cereal box panels. Wrap them in fabric scraps and edge with Rustoleum Spray Grip ($8 can) for no-slip hold. The 2026 visible storage trend makes these dividers both functional and decorative, turning chaotic shelves into Instagram-worthy displays.
The frequent user mistake? Overloading beyond 8 pounds, which causes collapse. I learned to distribute weight carefully, using multiple dividers for heavier items like canned goods. For lighter things like pasta boxes or snack bags, these work perfectly. The fabric covering lets you coordinate with your kitchen colors, and I’ve made sets in seasonal patterns that I swap out. The spray grip on the edges keeps everything stable without damaging shelves. Honestly, this solved my pantry chaos better than any expensive organizing system I’d considered buying. The customization aspect means everything fits exactly how I need it to.
Repurpose Bottle Caps Into Mosaic Tabletops

I started collecting beer caps from brands like Heineken after seeing a bar with a similar design, and after gathering 200-300 caps, I created the coolest side table. Glue them to an 18-inch round plywood disc with E6000 adhesive ($5), then seal with three coats of Minwax Polycrylic. The surprising pro tip? Embed LED strips underneath for glowing nightlife decor that’s trending hard in 2026.
The common problem is uneven glue application leading to loose caps over time. I apply glue to both the cap and the surface, pressing firmly for 30 seconds each. This extra step prevents the popping-off issue that ruins these projects. The variety of cap designs creates this organic, collected look that tells a story about your favorite drinks and memories. I added the LED strip along the edge, and when it lights up at night, the metallic caps reflect light in this mesmerizing way. Friends request these as gifts constantly, and I’ve made four more since my original. The sealing process takes patience, but it’s what makes these tables actually usable.

HuggieGems Metal 4 Pack Magnetic Spice Storage Rack
If you want something that just works, HuggieGems Metal 4 Pack Magnetic Spice Storage Rack Organizer for Refr is a safe bet (145 reviews, 4.5 stars).
Hang Wine Corks In Shadow Boxes

After years of drinking wine and feeling guilty about tossing the corks, I finally found a use for them. Collect 50-100 corks and hot-glue them in patterns inside an 11×14-inch frame kit from Michaels ($12). Interior pros favor this for wine lovers’ home bars because the cork actually absorbs odors subtly, which I didn’t expect as a bonus feature.
The overlooked error in damp homes? Not drying corks thoroughly first, which leads to mold growth. I learned to leave mine in the sun for a full day before crafting with them. The texture creates this three-dimensional wall art that looks intentional and sophisticated. I arranged mine in a gradient from light to dark cork colors, which required some planning but looks stunning. The natural material adds warmth to my bar area, and it’s a functional conversation piece about all the wines we’ve enjoyed. This project costs basically nothing if you’re already a wine drinker, and it beats throwing away perfectly good decorating material.
Turn Denim Scraps Into Woven Placemats

I had four pairs of old Levi’s jeans sitting in my donate pile until I realized they could become placemats. Cut 2-inch strips from the denim (four pairs yield eight mats), then weave them on a 12×18-inch loom made from popsicle sticks. The 2026 rustic trend embraces this kind of textured, handmade look, and these cost literally $0 if you’re using jeans you already own.
Common crafter advice warns about fraying edges that snag everything. Seal all edges with Mod Podge immediately after weaving to prevent this issue. I didn’t do this on my first set, and within two weeks they looked ratty. The sealed versions have lasted six months with regular use and washing. The denim weight makes these substantial enough for actual dining, not just decoration. I love how the different jean washes create natural color variation across the set. The weaving process is meditative and surprisingly quick once you get the rhythm. These placemats add personality to my table settings in a way store-bought versions never could.
Build Pallet Wood Floating Shelves

Construction sites often give away pallets for free, and I’ve turned them into the industrial kitchen shelves I’d been coveting. Disassemble 40×48-inch shipping pallets, cut to 24×10-inch shelves, brace with 1×2 furring strips, and spray with Rustoleum in matte black ($8). These support 20 pounds each, perfect for the 2026 industrial kitchen trend everyone’s copying from design shows.
Safety experts consistently warn about sanding splinters, which is absolutely essential with pallet wood. I spent an hour sanding each shelf smooth because pallet wood is rough and can cause serious injuries. The effort is worth it because the raw, reclaimed look is impossible to fake. The black finish modernizes the rustic wood, creating this perfect balance between industrial and homey. I mounted three shelves in a staggered pattern, and they’ve become my favorite kitchen feature. The cost was under $15 total, compared to hundreds for similar shelves at stores. This project requires some power tool confidence, but the results look professionally designed.

EUDELE Adhesive Shower Caddy
If you want something that just works, EUDELE Adhesive Shower Caddy is a safe bet (461 reviews, 4.5 stars).
Create Tin Can Planters With Drainage

I save every tomato can and soup can that comes through my kitchen, and now my windowsill looks like an urban garden. Drill three drainage holes in the bottom using a 1/4-inch bit, spray paint with Rustoleum in coordinating colors (I love their Coastal collection), and add 2-inch succulents from Home Depot ($3 each). The drainage prevents root rot, which kills most indoor plants.
Most people skip the drainage step and wonder why their plants die within weeks. The holes are non-negotiable if you want healthy plants. I also add a layer of small pebbles at the bottom before soil, which improves drainage even more. The tin cans give this collected, eclectic vibe that feels very now. I grouped mine in sets of five with varying heights, creating visual interest on my kitchen window. The metal material actually helps regulate soil temperature better than plastic pots. This project turns trash into a living garden display for maybe $15 total, and the plants grow better than in expensive planters I’ve bought.
Fashion Rope Baskets From Cardboard Cores

Paper towel tubes and wrapping paper cores become stunning storage baskets when wrapped in cotton rope. I use thick 1/2-inch rope from the hardware store ($12 for 50 feet), hot glue, and cardboard cores cut to various heights. These hold remote controls, magazines, or bathroom supplies, and they look like expensive woven baskets from boutique stores.
The trick is starting the rope wrap at the bottom and working up in tight spirals, gluing every few inches. Gaps between rope lines look unfinished and cheap. I learned to pull the rope taut as I wrap, which takes arm strength but creates professional results. The natural rope texture adds warmth to any room, and I’ve made baskets in three sizes that nest together. They’re surprisingly sturdy, holding up to daily use for over a year now. This project uses materials most people throw away weekly, transforming them into functional decor that guests always compliment. The handmade quality actually adds to their charm rather than detracting from it.
Build Magazine Holder Wall Pockets From Cereal Boxes

My mail used to pile up on the counter until I made wall pockets from family-size cereal boxes. Cut them diagonally to create an angled opening, cover with decorative paper or fabric, and mount with command strips. I made four pockets in a vertical row for mail, magazines, kids’ artwork, and bills. The organization system cost under $5 and solved my paper clutter problem completely.
The mounting mistake I made initially was using regular tape instead of command strips, and everything crashed down within days. Command strips rated for 3 pounds each are essential for stability. I covered mine in a geometric wallpaper sample that coordinates with my entryway colors, making them look intentional rather than crafty. The angled cut allows you to see contents at a glance, which helps me actually deal with mail instead of ignoring it. This system has kept my counters clear for eight months now. The cereal box cardboard is surprisingly durable when reinforced with the covering material. Honestly, this is one of those simple solutions that makes daily life noticeably easier.
Transform Plastic Bottles Into Vertical Herb Gardens

I cut 2-liter soda bottles in half horizontally, drilled drainage holes, and mounted them on my kitchen wall with zip ties through a wooden slat. Each bottle holds one herb plant, creating a vertical garden that saves counter space while looking modern and intentional. The clear plastic lets you monitor root health and water levels, which I find helpful as a somewhat neglectful plant parent.
The watering challenge with vertical gardens is preventing overflow onto lower plants. I learned to water sparingly and let each level drain before moving down. The plastic bottle material is actually ideal because it’s lightweight and won’t damage walls if it falls. I planted basil, cilantro, thyme, and mint, and having fresh herbs while cooking has changed my meal quality significantly. The whole system cost maybe $8 for potting soil and herb starts. This setup looks especially good in modern or industrial kitchens where the utilitarian aesthetic fits naturally. Friends with small apartments have copied this system because it maximizes growing space in tight quarters.
Create Decorative Wall Letters From Cardboard

I wanted my daughter’s name on her wall but refused to pay $60 for wooden letters. Instead, I cut letters from thick cardboard using a craft knife, stacked three layers for dimension, and covered them with fabric that matched her bedding. The 3D effect looks custom and expensive, and the whole project cost under $10. I mounted them with foam mounting tape, which holds securely without damaging walls.
The cutting process requires patience and a sharp blade. Dull blades create ragged edges that show through fabric covering. I trace letter templates from free online fonts, cut carefully, and sand edges smooth before covering. The fabric covering lets you coordinate with any room design, and you can change it seasonally if desired. These letters have stayed perfectly mounted for over a year with no sagging or falling. The dimensional quality makes them look professionally made rather than DIY. This project works for any word or phrase, making it versatile for different rooms and styles. Honestly, I’ve made three sets now for different spaces, and each one gets compliments from visitors who assume I bought them.
I’ve saved literally thousands of dollars over the years by looking at waste materials as decorating opportunities instead of trash. These 20 waste materials ideas diy home decor projects prove you don’t need a huge budget to create a beautiful, personalized home. Start with one project that excites you, and I guarantee you’ll be hooked on the creativity and savings. Pin this for later when you’re ready to tackle your next decorating challenge, and remember that the best homes tell stories through collected, meaningful pieces rather than matching store-bought sets.
Frequently Asked Questions
What are the best waste materials for DIY home decor projects?
Glass jars, cardboard boxes, fabric scraps, wood pallets, wine corks, magazine pages, and tin cans are excellent choices. These materials are sturdy, versatile, and easy to transform with basic craft supplies like paint, glue, and fabric.
How do I seal DIY projects made from waste materials to make them last?
Use clear acrylic sealant spray or Mod Podge for paper and cardboard projects. For wood, apply Minwax Polycrylic in 2-3 coats. Proper sealing prevents moisture damage, peeling, and extends the life of your DIY decor significantly.
Are waste material DIY projects actually cheaper than buying decor?
Absolutely. Most projects cost $0-15 using materials you’d normally throw away, compared to $30-100 for similar store-bought items. You’ll save hundreds annually while creating unique, personalized pieces that reflect your style better than mass-produced alternatives.
What tools do I need to start making DIY home decor from waste materials?
Begin with basics: hot glue gun, craft knife, scissors, sandpaper, and spray paint. Add a drill for advanced projects. Most tools cost under $50 total and can be used for countless projects, making them worthwhile investments for ongoing creativity.