What’s Inside
- Declutter Ruthlessly Before You Organize
- Implement A Zone System For Better Can Organization In Pantry
- Use Gravity-Feed Racks For Standard Sizes
- Clear Acrylic Bins Save Odd-Sized Cans
- Expandable Tiered Shelving For The Back Rows
- Decant Dry Goods To Free Up Shelf Space
- Utilize The Door With Wire Racks
- Turntables Are Essential For Deep Corners
- Repurpose Magazine Holders For Soup Cans
- Label The Tops For Instant Identification
- Wire Baskets Contain The Bulk Hauls
- Install Slide-Out Drawers For Maximum Access
- Stackable Bins For Tuna And Small Tins
- Master The First-In-First-Out Method
- The Secret To Maintaining Can Organization In Pantry
Last Tuesday, I opened my kitchen cabinet and a massive 28-ounce tin of crushed tomatoes plummeted onto my left foot. The heavy metallic clatter echoed through the house. My toe throbbed instantly. The sharp, acidic smell of dented tin and tomato paste hung in the air. That painful moment proved my pantry organization was a disaster. I’m embarrassed to admit how long I lived with precarious towers of beans and soups hiding in the dark corners. Learned that the hard way.
If you’re tired of playing a dangerous game of Jenga every time you need chicken broth, I’ve got you covered. Mastering your pantry setup doesn’t require a professional or a massive budget. It just takes smart strategies, the right measurements, and sturdy bins. I’m sharing the methods I use in my own kitchen. Plus, I’m including the expensive mistakes I made along the way so you don’t have to repeat them. Let’s fix those messy shelves now.
1. Declutter Ruthlessly Before You Organize

Before you buy a single acrylic bin, empty the entire space. I’m serious. Take every tin out and put it on your counter. Professional organizer Kayleen Kelly says not purging your food storage every six months is a major mistake. It leads to chaos. I learned this the hard way at Trader Joe’s last month. I bought three more cans of their 15-ounce organic black beans for $1.19 each. When I finally cleared my shelves, I found twelve identical cans shoved in the back. Some expired in 2022. The tops were covered in sticky dust. Gross, but true.
You’ll need a heavy-duty trash bag. I swear by Hefty Ultra Strong 13-gallon bags. They’re about $11.99 for a box of 40 at Target. Throw away anything expired, severely dented, or that you won’t ever eat. Skip the guilt. Keeping a dented can of weird soup you hate is just wasting space. Wiping down the bare wooden shelves with a damp cloth and smelling that clean lemon surface cleaner is satisfying. This first step prevents you from just rearranging your garbage.
2. Implement A Zone System For Better Can Organization In Pantry

Once your shelves are bare, create logical zones. Categorize items into groups like baking supplies, soups, vegetables, and quick meals. This ensures everything has a home. It makes finding a 14.5-ounce can of diced tomatoes much faster. I tried organizing purely by size for months before realizing it’s a terrible idea. Mixing canned peaches with kidney beans just because they’re the same height makes cooking frustrating. I’d reach for fruit and grab refried beans. Took me years to figure that out.
Put your most frequently used items at eye level. If you make chili every week, those beans belong front and center. I use standard Post-it notes. The 3-inch by 3-inch ones cost $3.49 for a three-pack at Sprouts. I stick them on the shelf edges to map out zones before putting anything back. It sounds silly. But seeing the word “Soups” helps you commit to the layout. The visual structure of having green beans next to corn is deeply satisfying. It looks intentional. You won’t waste time hunting for ingredients when you’re tired and just want dinner.
3. Use Gravity-Feed Racks For Standard Sizes

For standard 15-ounce cans, a gravity-feed rack is essential. These are the angled metal shelves where you load from the top and cans roll forward. I’m obsessed with the SimpleHouseware Stackable Can Rack Organizer. It costs $24.99 on Amazon and holds up to 36 cans. The heavy wire feels sturdy. When you pull a can out, the next one rolls down with a smooth, metallic clink.
I’ve tried cheap plastic versions. Don’t do it. They bow under the weight of heavy soups and eventually snap. I had a plastic one break last year. It sent twelve cans of chicken noodle soup crashing onto my floor. The metal racks are worth the extra ten dollars. They maximize vertical space. You can stack two if you have tall shelves. Just measure your shelf height first. You need at least 15 inches of clearance. This eliminates the need to balance cans on top of each other.

Rubbermaid Configurations Deluxe Custom Closet Kit 4-8 Ft.
Rubbermaid Configurations Deluxe Custom Closet Kit 4-8 Ft. Adjustable punches above its price — 81 buyers rated it 4.5 stars. I would buy it again.
4. Clear Acrylic Bins Save Odd-Sized Cans

Not everything fits in a rolling rack. You’ll have tiny 6-ounce cans of tomato paste and massive 29-ounce cans of pumpkin puree. For these, clear acrylic bins are the answer. I swear by mDesign Plastic Pantry Bins. You can get a two-pack for $19.99 at Target. They measure 16 inches long and 6 inches wide. The smooth plastic is transparent. You can see exactly what you have without pulling the bin out.
I tried shoving tiny tomato paste cans into my gravity rack once. Total disaster. They jammed sideways and I had to pry them out with a butter knife. The acrylic bins keep them contained. You slide the whole bin out like a drawer. The plastic gliding against the wood makes a soft whoosh sound. It’s perfect for short, squat cans of water chestnuts or green chilies. Plus, if a can leaks, the mess stays in the plastic instead of ruining your shelves. Wash the bin with warm soapy water and you’re good to go. You might also like: 20 Brilliant Indian Home Makeover Ideas for Any Style
5. Expandable Tiered Shelving For The Back Rows

If you have deep shelves, things get lost. It’s a black hole. To fix this, you need stadium seating. Expandable tiered organizers lift the back rows up so you can see every label. I use the Copco Non-Skid 3-Tier Cabinet Organizer. It’s $9.99 at Walmart. It expands from 15 to 30 inches wide. The steps have a grippy, rubbery texture that keeps cans from sliding. You might also like: 15 Creative Dollar Tree Hacks Organizing Ideas for a Fresh New Look
When I installed this last spring, I realized I had five cans of coconut milk hiding in the dark. Now, I can see the bright green labels popping up over the front row. It makes grabbing a 13.5-ounce can for curry easy. One negative: tiered shelves eat up vertical space. If your shelves are short, the back row might hit the ceiling. You need at least 10 inches of height for this to work well. But if you have the room, it’s the best way to track inventory. You won’t accidentally buy duplicates again. You might also like: 15 Stunning Organizing Kitchen Home Hacks Ideas You Haven’t Thought Of
6. Decant Dry Goods To Free Up Shelf Space

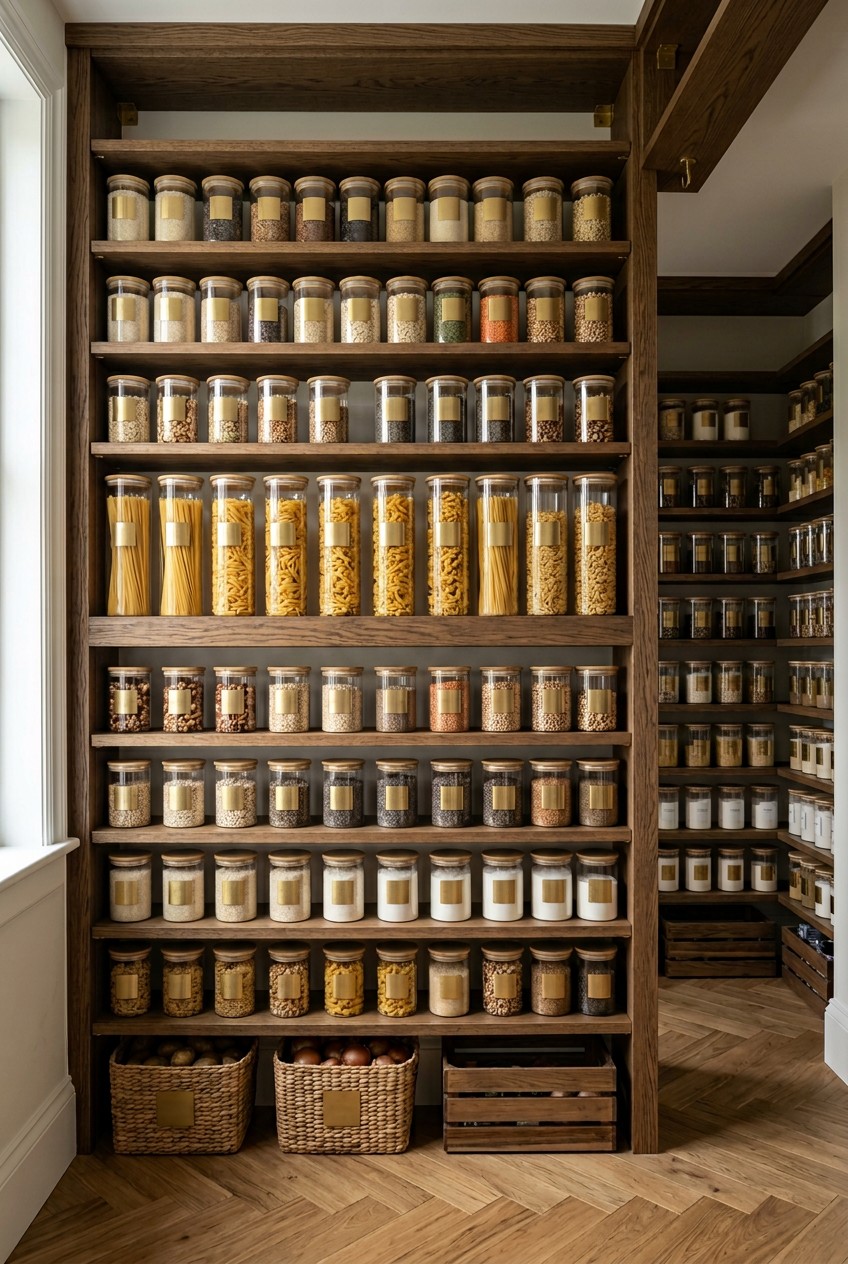
You might wonder why I’m talking about dry goods in a post about cans. It’s simple math. Decanting bulky bags of flour, sugar, and pasta into uniform containers frees up shelf space. You can then use that room for cans. Transferring staples from ugly packaging into clear, airtight containers creates a cohesive look. Designers call this Boutique Pantry Energy. It’s a huge trend for 2026.
I use OXO Good Grips POP Containers. A five-piece set runs about $54.99 at The Container Store. The 4.4-quart size perfectly holds a 5-pound bag of flour. Pushing the button on top makes a loud, satisfying pop that seals the air out. Getting rid of half-empty, crinkly plastic bags opened up an entire shelf. I moved all my baking supplies to the top in these square containers. They stack flush against each other. This allowed me to dedicate a prime, eye-level shelf to my canned goods. It’s a domino effect.

3-Tier Hanging Laundry Basket Organizer:Foldable Wire Shelf
If you want something that just works, 3-Tier Hanging Laundry Basket Organizer:Foldable Wire Shelf Laundry Ro is a safe bet (518 reviews, 4.5 stars).
7. Utilize The Door With Wire Racks

Most people ignore the back of the door. That flat surface is prime real estate for small cans. Installing an over-the-door rack changed everything. I bought the Elfa Utility Pantry Door Rack for $130.00. It’s 18 inches wide and hooks over the top hinge. The white metal feels secure. I use it for small items like 4-ounce cans of green chilies, 8-ounce tomato sauce, and jars of capers.
Skip the cheap fabric shoe organizers. I see people recommend those on Pinterest, but I tried one three years ago. The sharp edges of the cans ripped through the flimsy plastic within a month. They also swing and bang against the door. A solid metal rack screwed into the wood won’t budge. You just hear the quiet click of the door latch. It keeps tiny, annoying cans out of the main shelves. It’s the best investment I’ve made for my storage.
8. Turntables Are Essential For Deep Corners

If you have an L-shaped pantry, those deep corners are miserable. You can’t reach anything. Turntables, or Lazy Susans, are the only way to make that space functional. I use the iDesign Linus Turntable. The 11-inch version costs $14.99 at Kroger. Place it in the corner. I load it up with 15-ounce cans of fruit and specialty soups.
When I need crushed pineapple, I spin the wheel. The stainless steel ball bearings make a quiet, smooth whirring sound. It brings back items to the front. But here’s a mistake I made: don’t overload a cheap turntable with massive 28-ounce cans. I did this last winter. The plastic base warped under the weight. The wheel jammed, and it wouldn’t spin. I had to drag the whole thing out. Keep turntables for 15-ounce cans or smaller. For the heavy stuff, stick to stationary metal racks.
9. Repurpose Magazine Holders For Soup Cans

If you’re on a budget, you don’t need expensive acrylic. Use magazine holders. This is a brilliant hack for 10.5-ounce soup cans. I buy the IKEA FLYT magazine files. They’re rigid cardboard and cost $2.99 for a pack of four. Turn them on their backs so the tall side rests on the shelf. Load the soup cans in. They roll perfectly.
The stiff cardboard holds up if you keep it dry. You can fit about five cans in one holder. I love pulling one out and seeing the red and white labels lined up. However, I have to be honest about the limitations. This only works for smaller 10.5-ounce cans. Last month, I tried shoving 15-ounce bean cans into one. They were too wide. They stretched the cardboard, and the whole thing ripped. It looked terrible. As long as you stick to narrow soup cans, it’s a fantastic, virtually free solution.

iDesign Laundry Detergent Holder
Honestly, iDesign Laundry Detergent Holder surprised me — sturdier than it looks in the photos, and over 13 buyers gave it 4.5 stars.
10. Label The Tops For Instant Identification

When you store cans in deep drawers, you can’t see the front labels. You just see a sea of silver. It’s frustrating to pick up five different cans to find chicken broth. The easiest fix is labeling the tops. I use a black Fine Point Sharpie. A two-pack is $4.99 at Walgreens. As soon as I get home, I write an abbreviation and the expiration date on the top of every can.
I write “CB 11/26” for chicken broth expiring in November 2026. The smell of permanent marker always reminds me I’m getting my life together. It takes two minutes while putting groceries away. It saves so much time later. You can glance down into a drawer and grab what you need. I used to skip this because I thought I’d remember. I didn’t. I once opened cherry pie filling thinking it was crushed tomatoes. Ruined dinner. Just write on the tops.
11. Wire Baskets Contain The Bulk Hauls

If you shop at warehouse clubs, you know the struggle of bulk packaging. Buying a 12-pack of diced tomatoes in tight, ugly plastic wrap ruins your shelves. You can’t just leave them in the plastic. I used to do that. I’d rip a jagged hole and wrestle a can out. It looked trashy and the plastic would catch on other items.
Now, I use heavy-duty wire baskets for my Costco hauls. Target Brightroom Wire Storage Baskets are perfect. They cost $12.00 each and measure 13 by 11 inches. The matte black metal is strong. I unwrap the bulk pack immediately and stack all 12 cans into the basket. It slides easily on the shelf. The open design lets me see exactly how many cans are left. The cold, rigid feel of the metal gives the space an industrial, clean vibe. It hides the chaos of buying in bulk while keeping everything accessible.
12. Install Slide-Out Drawers For Maximum Access

If you have deep lower cabinets, you need slide-out drawers. Reaching into the dark back to find peas is terrible. You end up on your hands and knees on the floor. I installed the Rev-A-Shelf Wire Pull-Out Basket in my bottom cabinet. It costs $64.99 and is 11.75 inches wide. Pulling it out reveals everything.
The ball-bearing tracks make a smooth, gliding sound that feels high-end. It brings the entire inventory into the light. I will warn you, installation takes patience. I tried doing it myself last fall. I rushed and stripped a screw forcing it into the oak base. I had to buy special pliers to extract it. Take your time, use a power drill, and pre-drill your holes. Once installed, it’s life-changing. You won’t ever lose a can in the dark recesses again.

AMKUFO 6 Pack-Closet-Organizers-and-Storage
AMKUFO 6 Pack-Closet-Organizers-and-Storage has been one of the most consistently praised picks in this category. 52 reviewers averaged 4.5/5.
13. Stackable Bins For Tuna And Small Tins

Tuna cans are the worst. They’re 5 ounces, short, and they refuse to stack securely. The slippery aluminum ridges don’t lock. If you bump a stack, they slide everywhere and crash to the floor. I dealt with this for years. Finally, I bought the YouCopia StoraStack. It’s $19.99 and designed for these short tins.
It holds them at an angle so you can see labels. Pull one from the front, and the rest slide down. The white plastic is easy to clean if a can gets dusty. I also use it for 4-ounce tins of smoked oysters and anchovies. It eliminates the avalanches. Before I found this, I tried a generic square basket. But I still had to dig through it to find the albacore. The angled dispenser keeps them neat and visible. It’s a small detail, but it removes a daily annoyance.
14. Master The First-In-First-Out Method

No matter what bins you buy, your system will fail without the First-In-First-Out method. In restaurants, they call it FIFO. It means you put new groceries in the back and pull the old ones to the front. When I unload groceries from Aldi, I don’t just shove the new beans in the front. I physically remove the older cans, place the new ones in the back, and put the older ones up front.
It takes an extra thirty seconds. If you skip this, you’ll end up eating food from 2021. I’m guilty of this. During my big cleanout, I found organic pumpkin puree from 2019 hidden behind three newer cans. I had to throw it away. Wasting food is throwing money in the trash. Using FIFO guarantees you cycle through inventory before anything expires. It forces you to touch your food storage. The physical act of rotating cans keeps you aware of what you have.
15. The Secret To Maintaining Can Organization In Pantry

Getting shelves perfect on a Sunday is easy. Keeping them that way for six months is the challenge. The secret is a monthly reset. I set a recurring alarm on my phone for the first Saturday of every month. I spend fifteen minutes realigning cans, checking for expired items, and wiping down shelves.
I use a dry Mr. Siga microfiber cloth. A 12-pack costs $11.99 on Amazon. The soft, plush texture grabs the fine dust that settles on tops. If you let it go, that dust mixes with grease and becomes a sticky nightmare. During this reset, I also list what I’m running low on. If I see I only have one can of crushed tomatoes left, I add it to my grocery app. This small habit prevents the system from deteriorating. You won’t have to spend three hours doing a massive overhaul again.
I’ve tried almost every organization hack. These strategies are the only ones that keep my kitchen functioning smoothly. Stop living with chaotic, dangerous towers of food. Pick one of these tips, grab a few sturdy bins, and start tackling that mess this weekend. You’ll feel so much better when you open those doors. If you found this helpful, please pin this article to your favorite Pinterest home boards so you can find it later!

HomePekite Laundry Pods Storage Container
HomePekite Laundry Pods Storage Container has been one of the most consistently praised picks in this category. 15 reviewers averaged 4.5/5.
Frequently Asked Questions
How do you store cans in a deep pantry?
I’m a huge fan of using clear acrylic turntables or slide-out wire drawers for deep spaces. They bring the back inventory forward so you don’t lose items in the dark corners.
What is the best way to group canned goods?
You should group them into logical zones based on how you cook. Keep baking items together, soups in one spot, and quick meal components at eye level. Don’t organize purely by size.
Do gravity-feed can racks really save space?
Yes, they absolutely do. Stacking metal gravity racks maximizes your vertical shelf height and prevents dangerous avalanches. Just make sure you measure your shelf height before buying them.
How often should I check my canned food expiration dates?
I highly recommend doing a quick fifteen-minute check on the first of every month. Doing this prevents sticky dust buildup and ensures you use the first-in-first-out method correctly.
